

How To Draw One Point Perspective Buildings
At that place is and then much you can exercise when you lot empathise the concept of elementary unmarried point perspective. I remember articulate as mean solar day when it clicked for me. Information technology just fabricated sense. Recently I did a simple art form with young kids on the subject. We did things similar brand 3D letters, and optical illusions. That led me to make a step by step single signal perspective cartoon of a street, to assistance explain it, and hopefully it volition only click with someone out in that location!
***This page contains affiliate links.***
Of course at that place are a number of books that teach perspective cartoon, such equally this aneor this one.
I will kickoff with the single indicate perspective drawing of a street and then add together a few drawings that are a uncomplicated way to play with single bespeak perspective.
Single Point Perspective Drawing of a Street
Information technology all starts with a dot. The vanishing signal.
You will need a ruler.
Basic Building Structure

You can come across my purple fiddling dot up to a higher place.

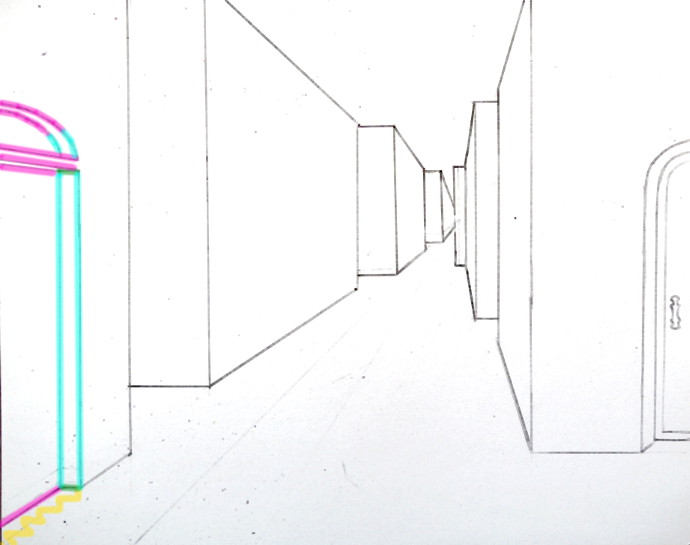
Next, pick a good spot for your first building. You'd need to draw the buildings that are up closer to you first. Then depict a nice vertical line. You will see throughout this lesson that I colour lawmaking my lines: bluish is for vertical. In a drawing such as this there are three directions for your lines: vertical (bluish), horizontal (greenish) and moving towards the dot (royal).

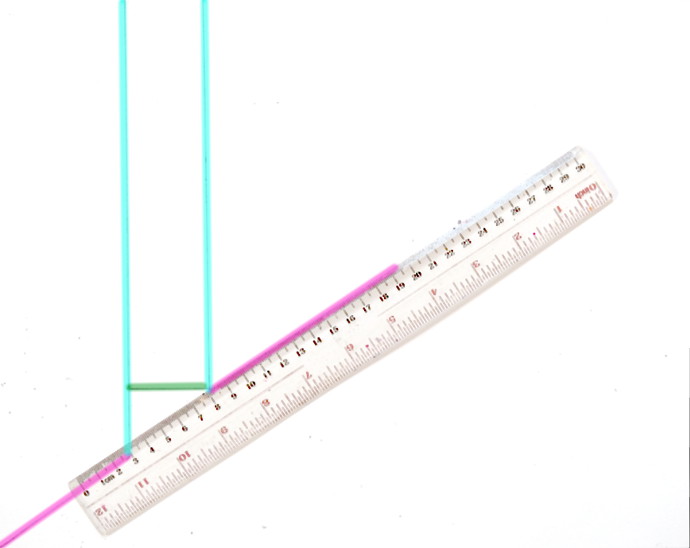
Next is the bottom of the building. This building is and so shut upwardly, you really tin't see it all, so information technology goes off the page. Take a ruler, and position it to connect the end of the blue line and the purple dot, then add together a diagonal (purple) line.

Pick a spot for the next building, and once more, draw a vertical line to indicate the border.
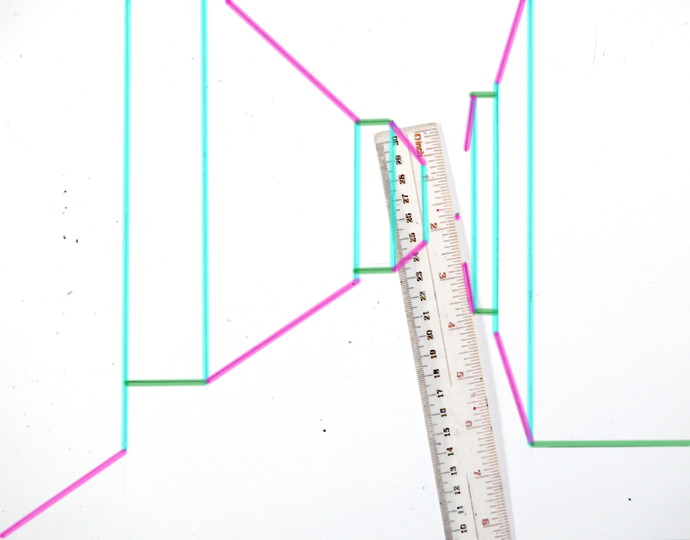
Repeat the stride with the ruler. Put it on the tip of your vertical line for the second building, and then depict a line going from that tip towards the dot, ending where the edifice would end. Besides, a horizontal line for the base of the building on the side that's facing the viewer.
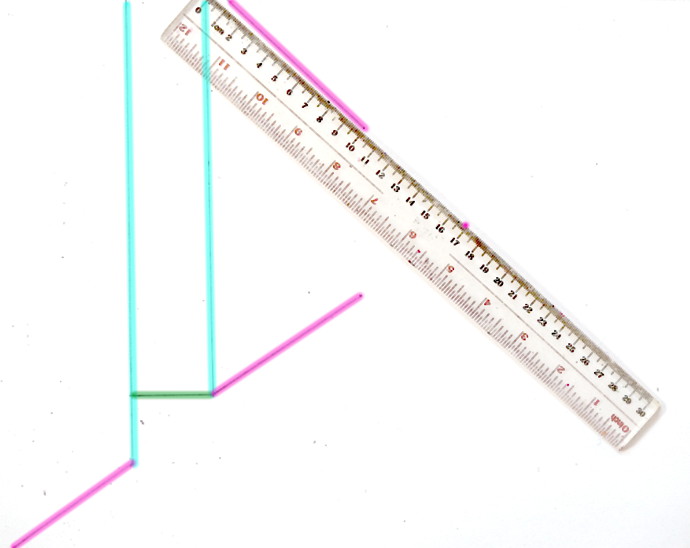
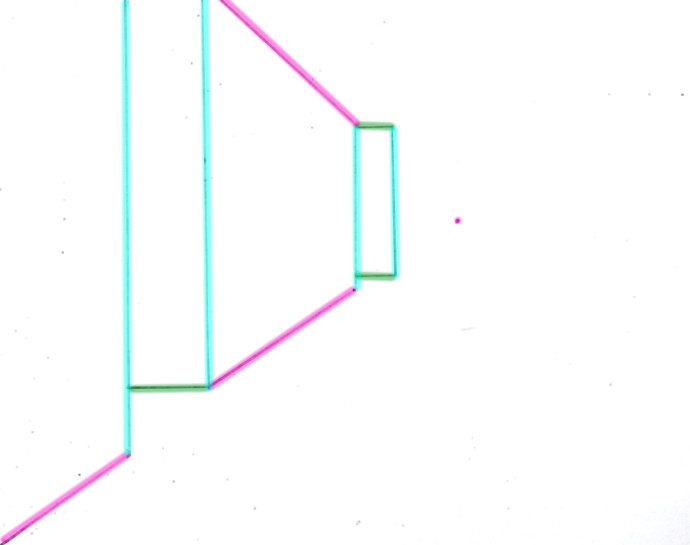
This building is further away, so we can come across more than of it. To describe the roof, put the ruler at where the blue vertical line would end on top, approximately, and and so depict a diagonal line going to the dot, ending at the same level as the diagonal line on the bottom.
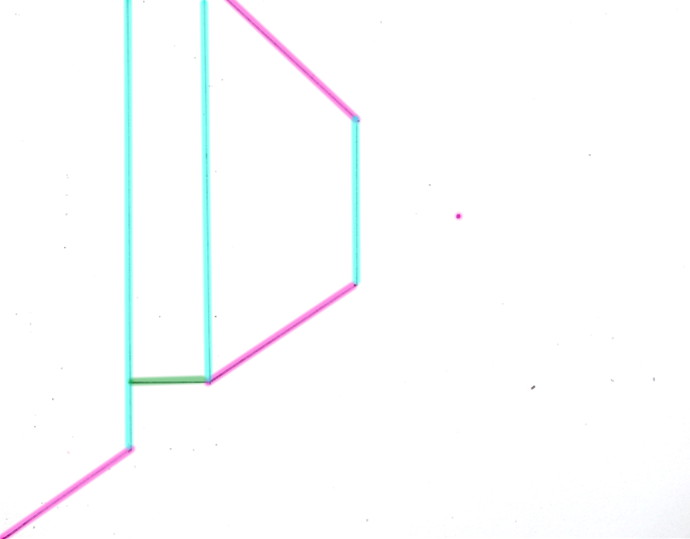
Connect the acme and bottom of the building with another vertical line. Ta-da! Now you lot have a 2d edifice.
Draw a smaller vertical line for the 3rd building, and two horizontal lines for the top and bottom of the building on the side facing the viewer.
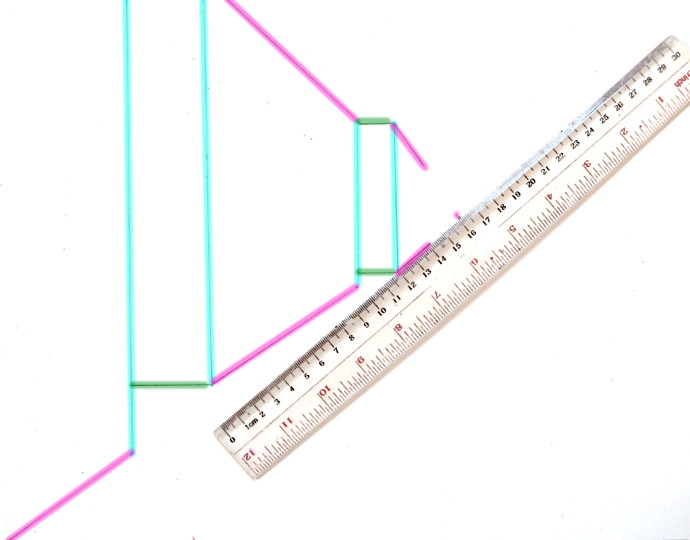
Do the same for the third building. The side that's facing the street gets 2 lines, one on top and 1 on lesser, both reaching for the vanishing indicate, and catastrophe where the building ends.
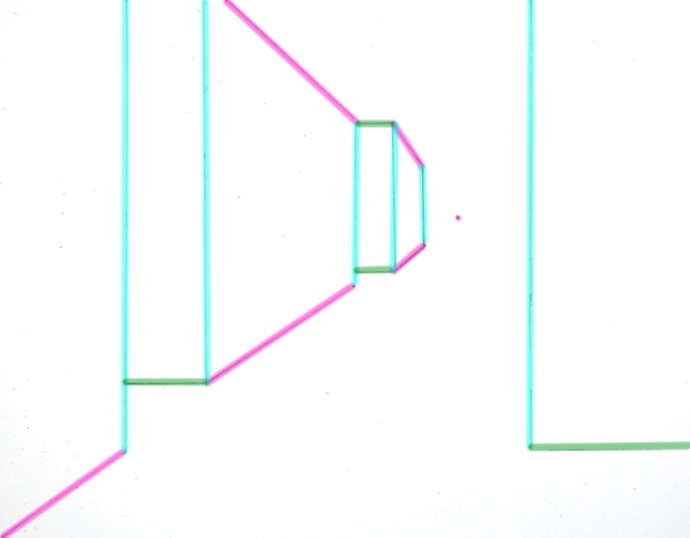
In this stride, I gave that last, third, edifice a vertical line, and started on the start building on the right. At present the right side will outset with the building that is facing the viewer, so one vertical line, and the horizontal base.
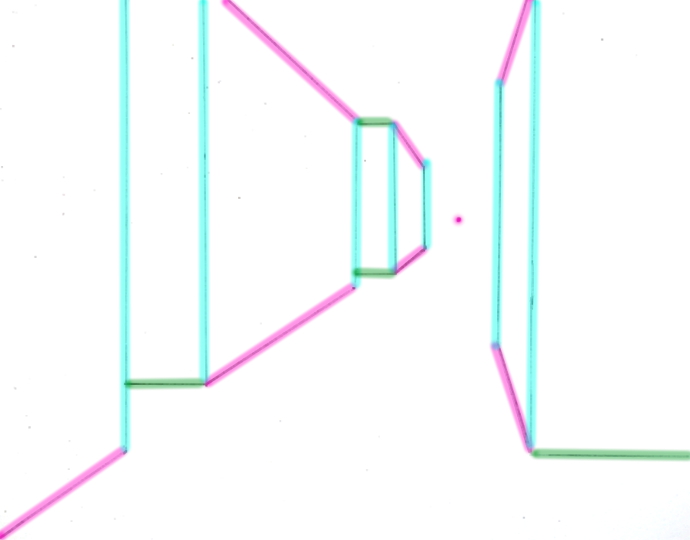
As before, two diagonal lines reaching toward the vanishing betoken, and another vertical line for the cease of the edifice.
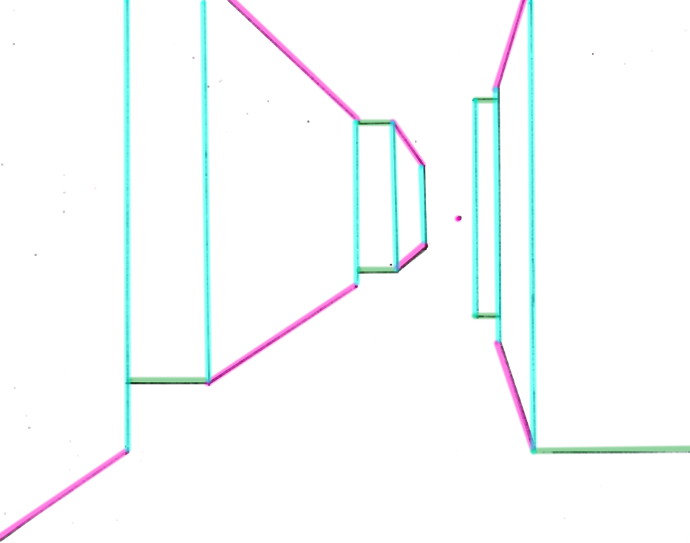
Second building on the correct gets a vertical line, and 2 horizontal lines for top and lesser.
Followed by two purple diagonal lines reaching for the vanishing point.
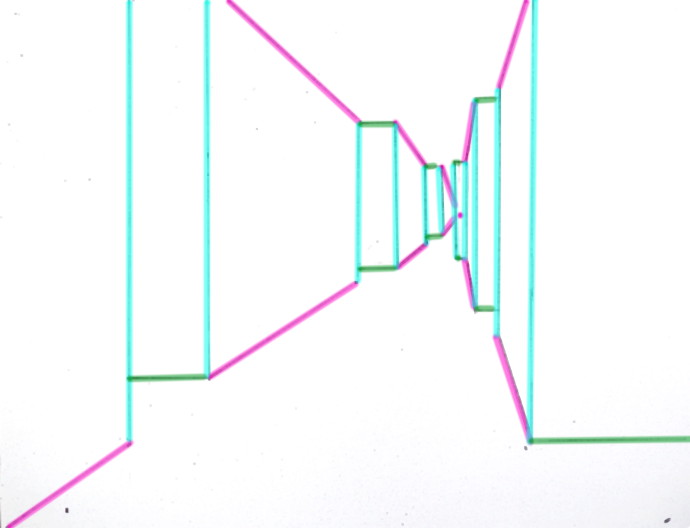
The tertiary building on the right goes over the vanishing point, so the viewer would only be able to see the front of the edifice, and nil on the side.
Windows, Doors and Other Fun Stuff
That is your bones edifice structure, at present I add windows, doors and other fun stuff to bring it to life!
Windows and doors follow in the same management as the buildings. If you lot are adding a door on the side that's facing the viewer, it will consist of simply vertical and horizontal lines. If the window or door is on the side facing the street, information technology will have vertical lines and lines moving toward the vanishing bespeak.
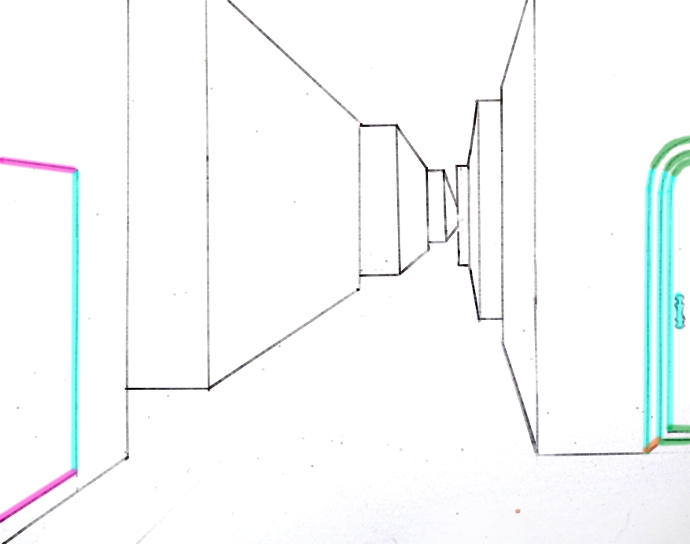
First is a door on the street side of the first edifice on the left, and the door facing the viewer on the first building on the right. I added colour coding to each line to brand it easier to understand what is happening. As well, that petty orange line on the door on the right is moving toward a dissimilar vanishing indicate that is outside the range of the folio.
Adding details to the door on the left, carefully following the lines of the building.
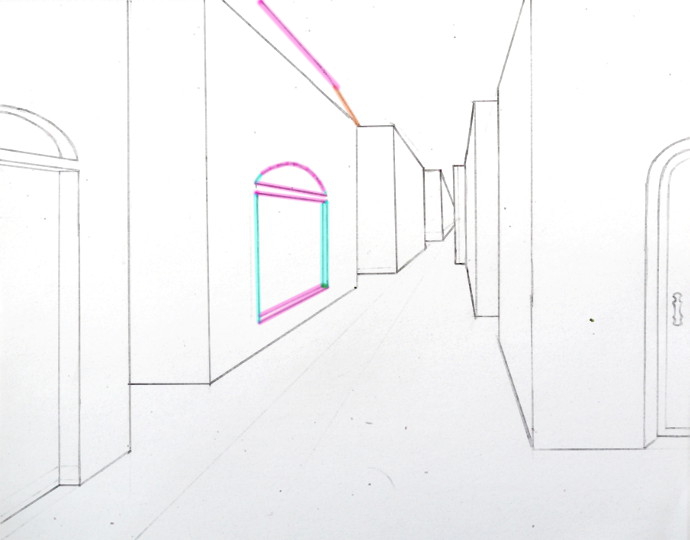
Second edifice on the left now gets a window and a roof top.
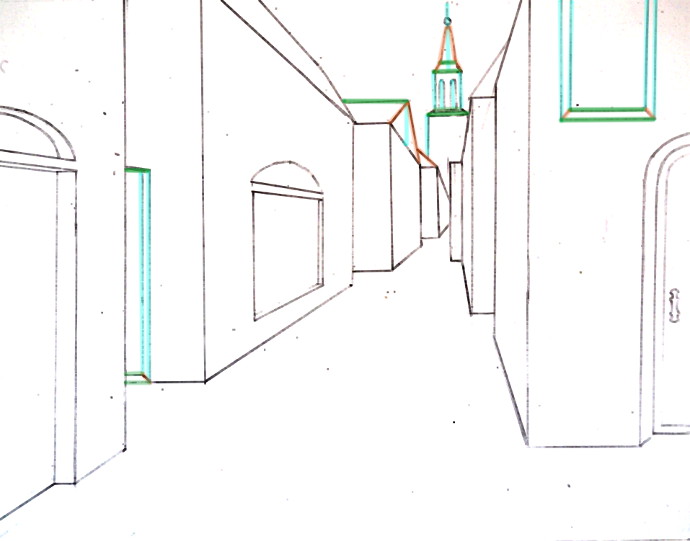
OK! I got carried away here and forgot to have pictures. I highlighted everything I added. The most of import function being that church steeple in the back. Information technology is right where the vanishing betoken is, so information technology generally gets horizontal and vertical lines.
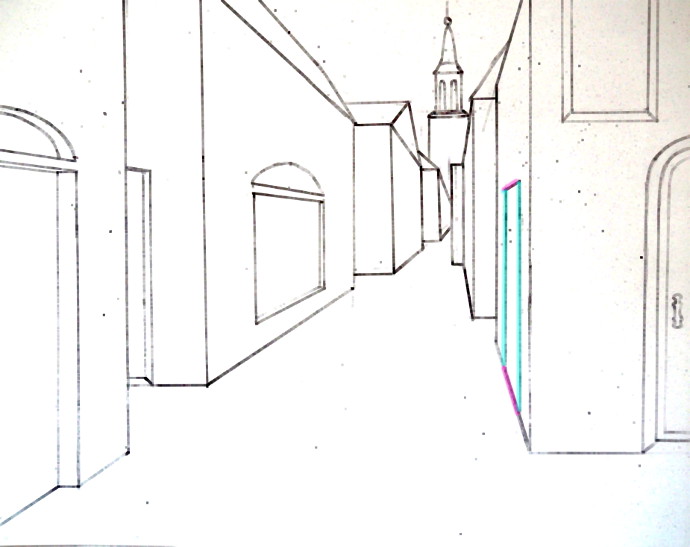
Continuing with the details, I add the door on the front right building.
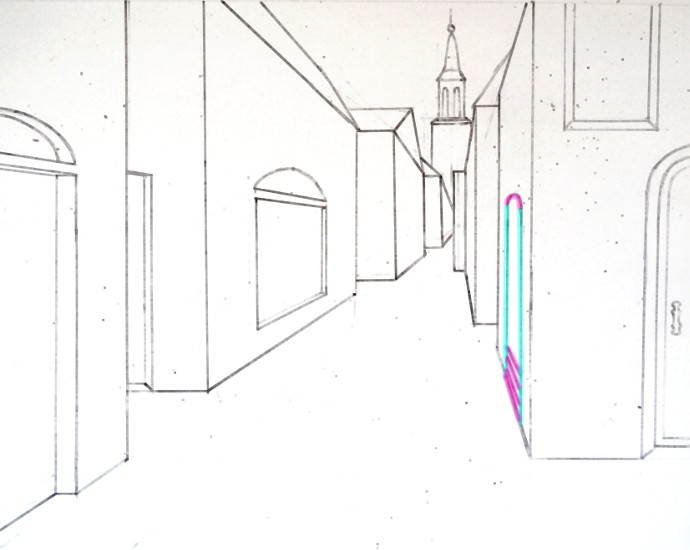
This door will get stairs. I drew three lines at equal intervals, all going toward the vanishing point, for the 3 steps that I will add together. I also curved the height of the door.
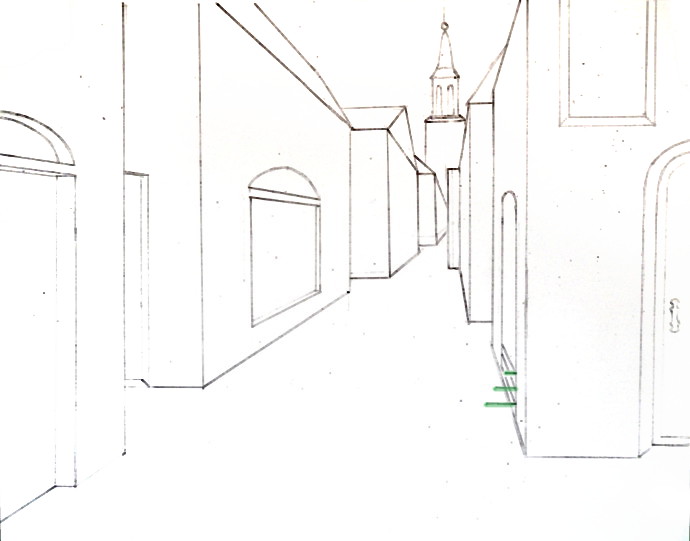
Each stride gets a horizontal line. The shortest on the top, the longest on the bottom. These three lines are the top of the steps.
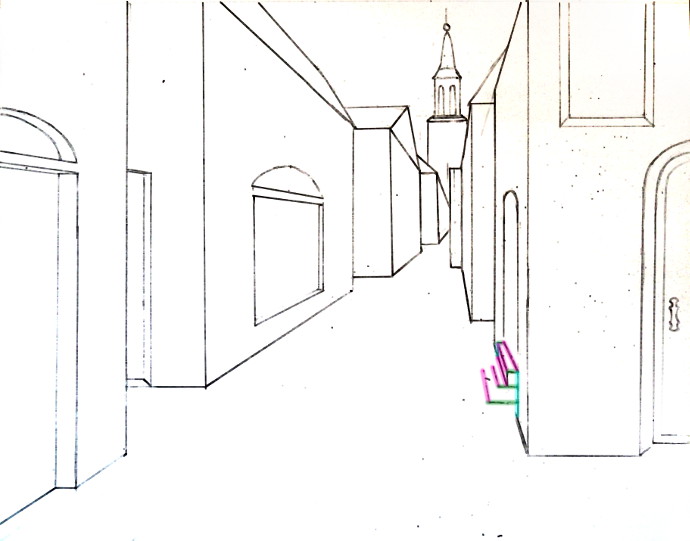
Now I add together each pace, one at a time.
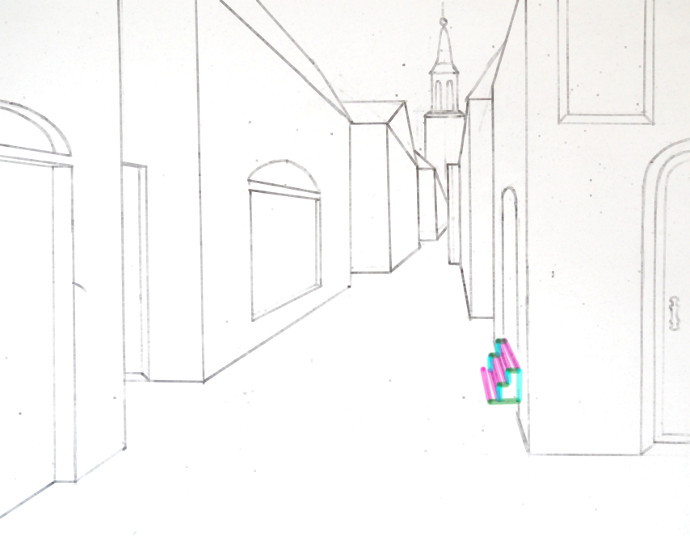
The play tricks is to keep horizontal and vertical lines parallel to each other, and keep in mind the lines that become to the vanishing indicate.
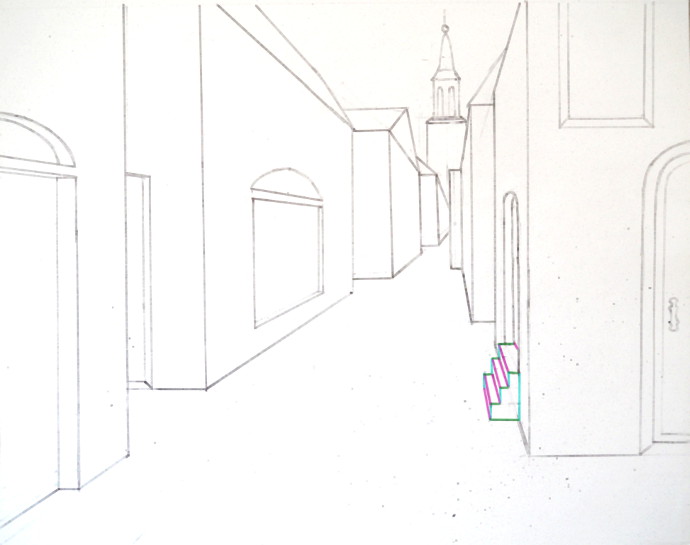
I erase all the unnecessary lines, and ta-da! I have stairs.
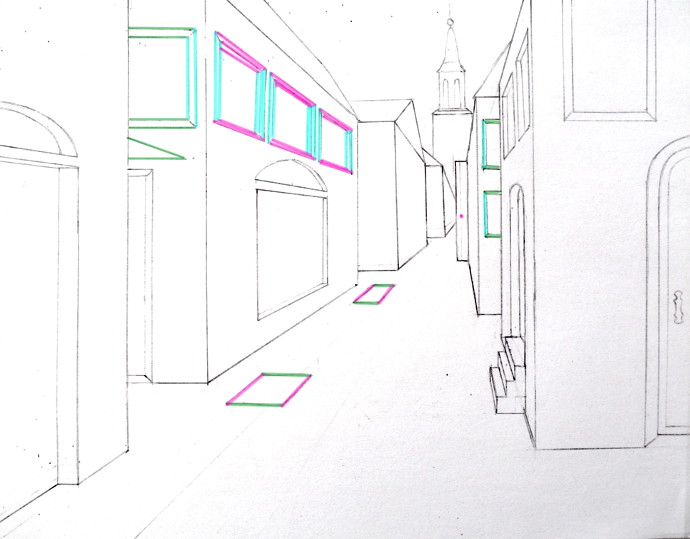
Now, on to more windows. Lots and lots of windows. Follow the lines of the buildings carefully. All the horizontal and vertical lines have to be parallel, and all the purple lines motility toward the vanishing indicate.

Even more than windows and doors.
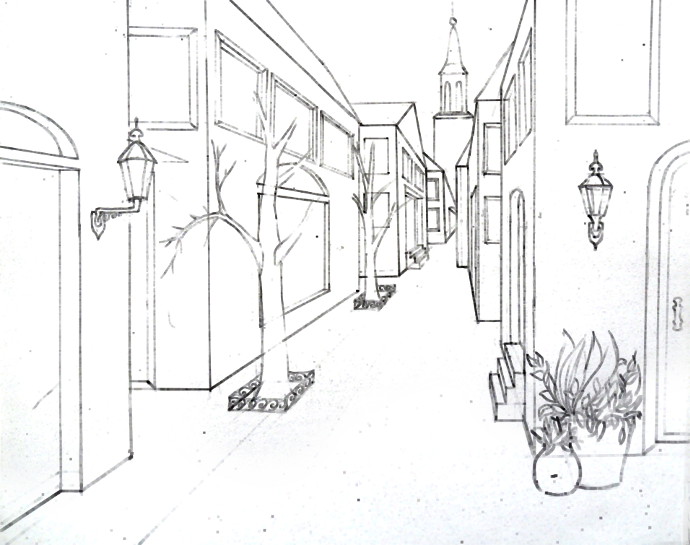
Now is the fun role: trees, lights, blossom pots. Stuff to decorate with and make it more than live. If you lot'd like to run into how to depict a simple tree, click here, for a more complicated tree, go hither.
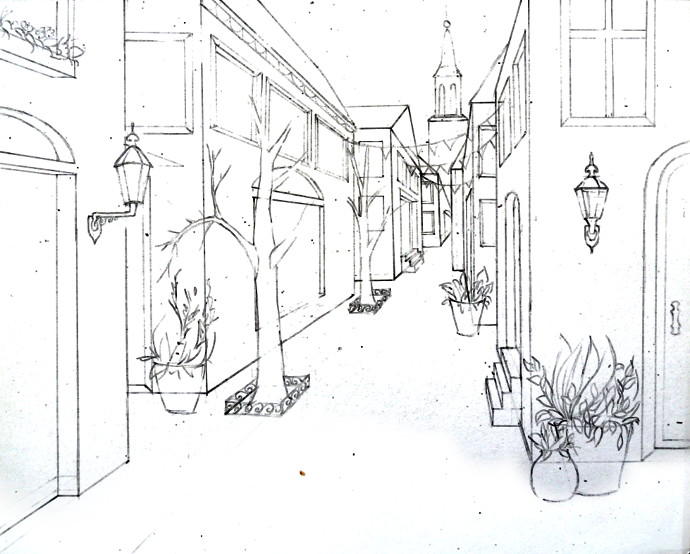
Add together even more: bloom pots, flags, window frames, etc. It is your street, so you tin can add what ever you like!

Now here is the same version of the drawing, simply this fourth dimension with the lines color coded.
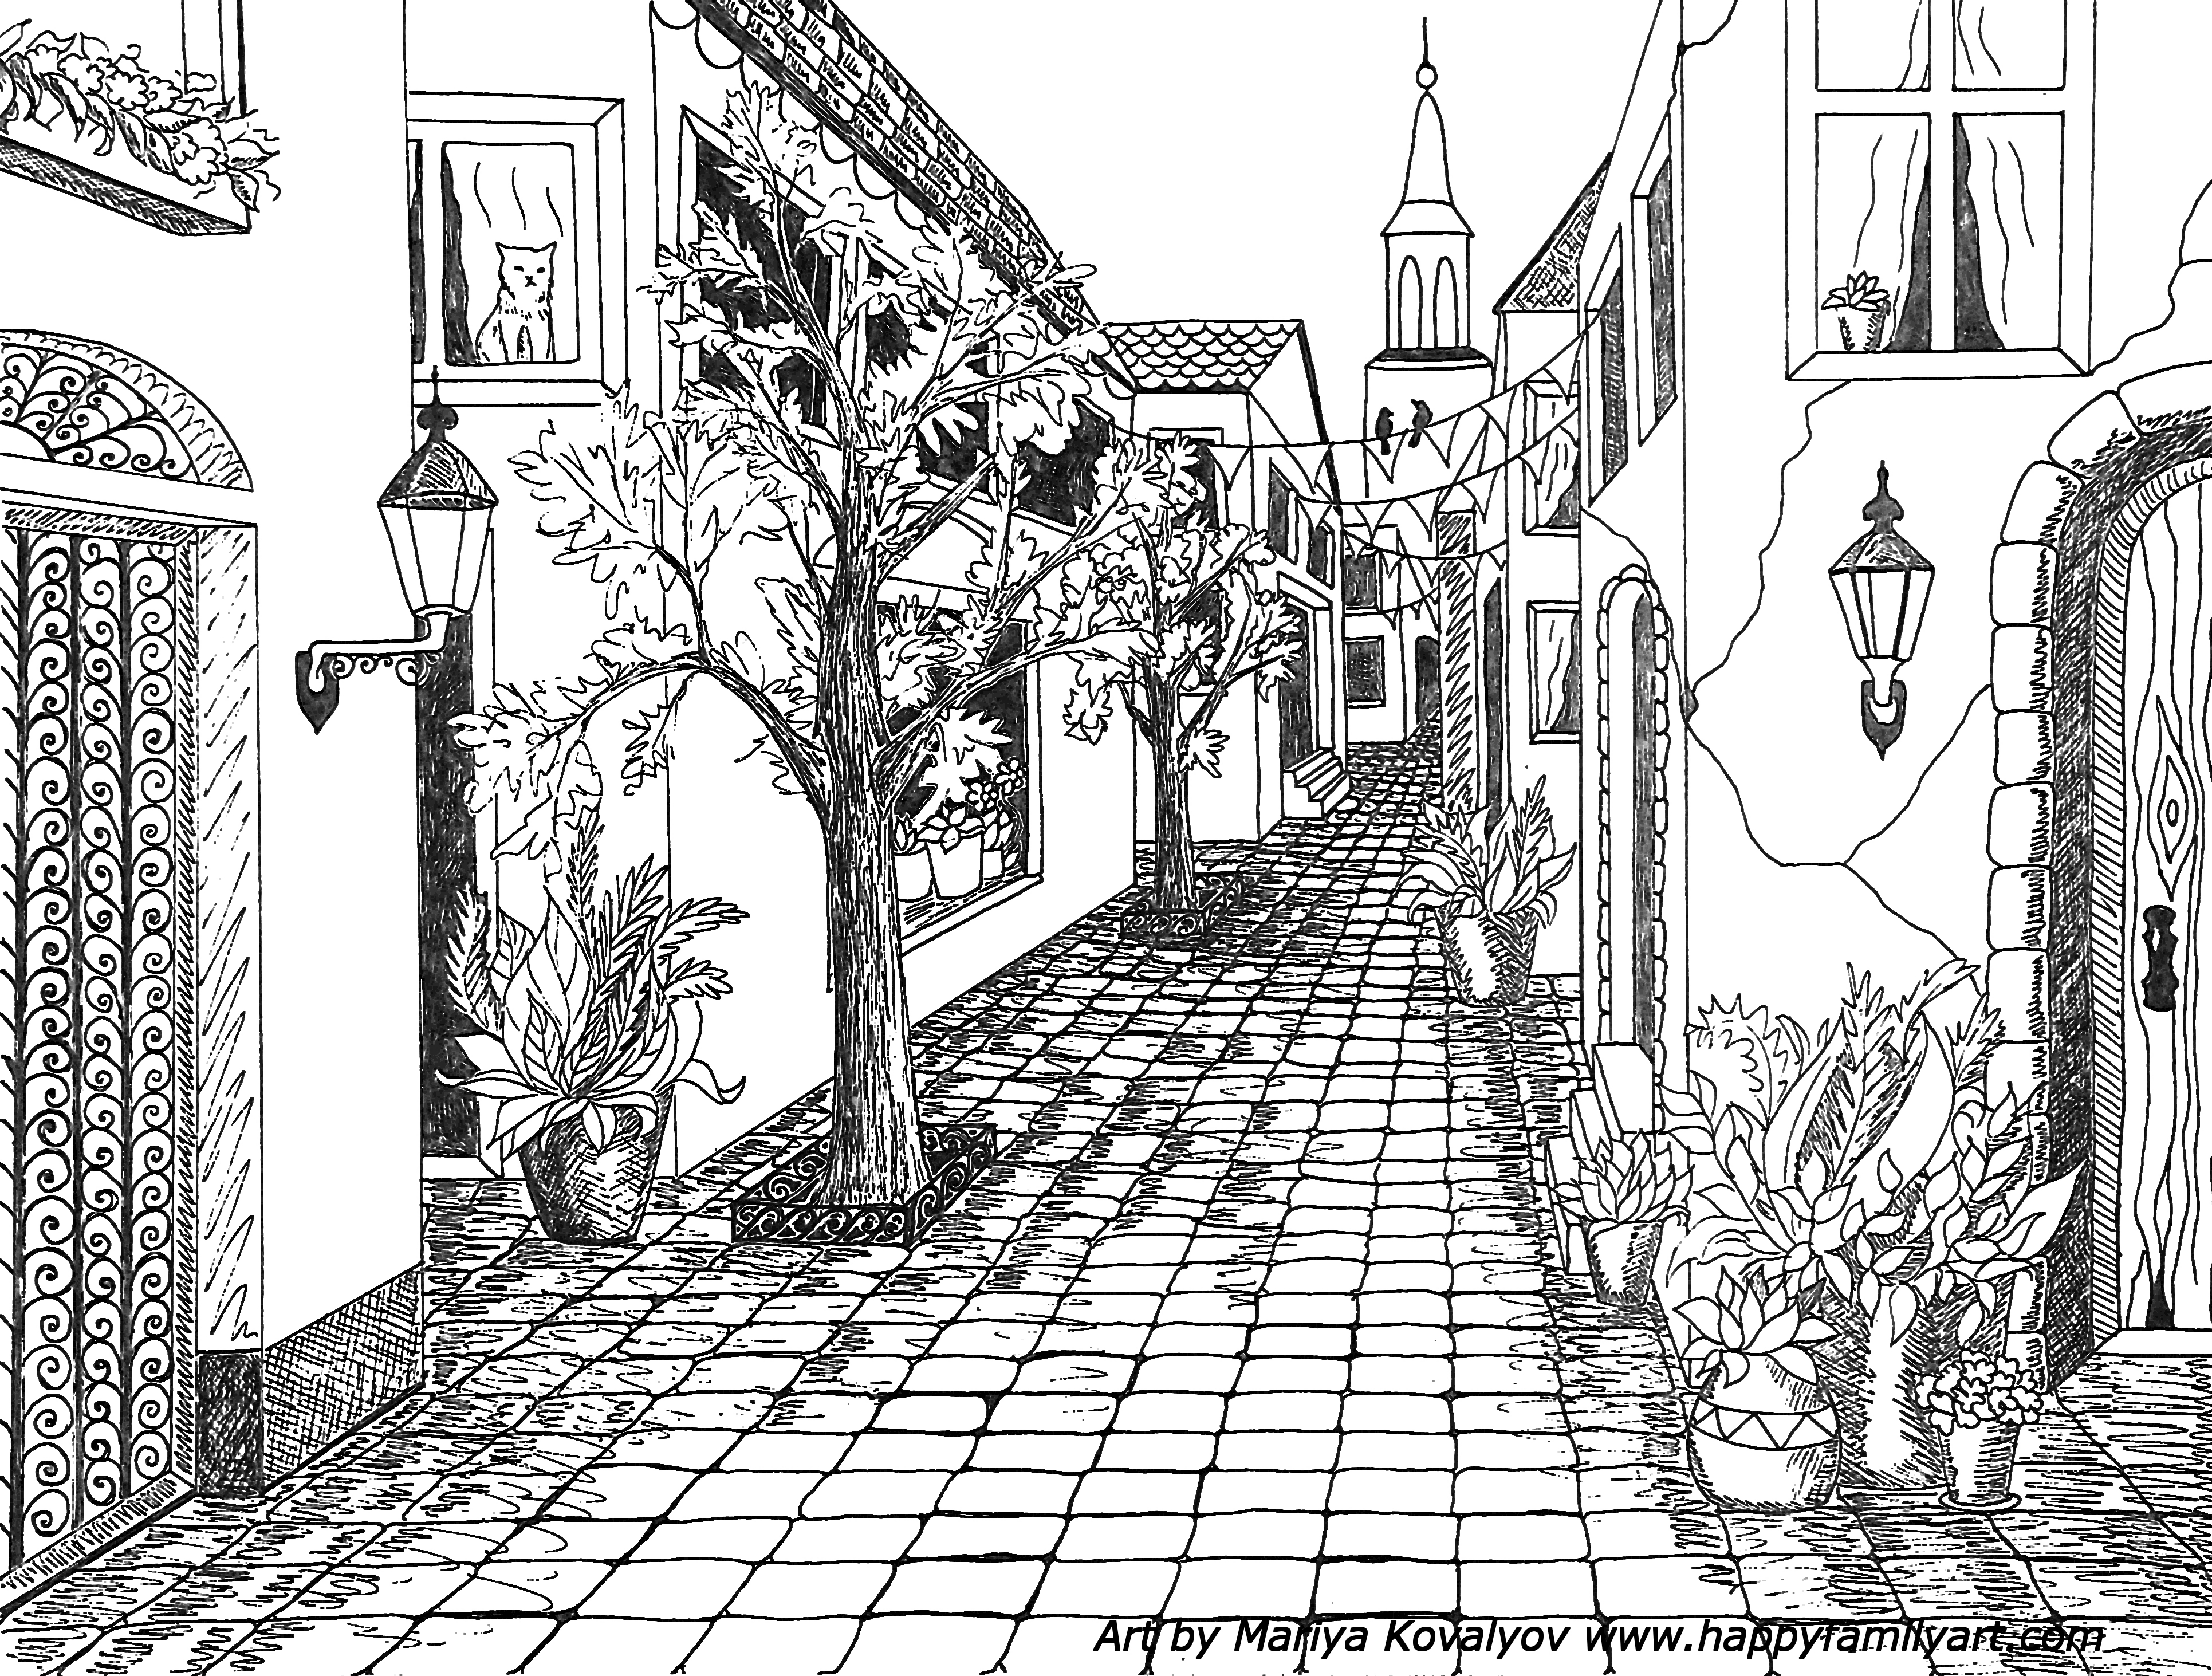
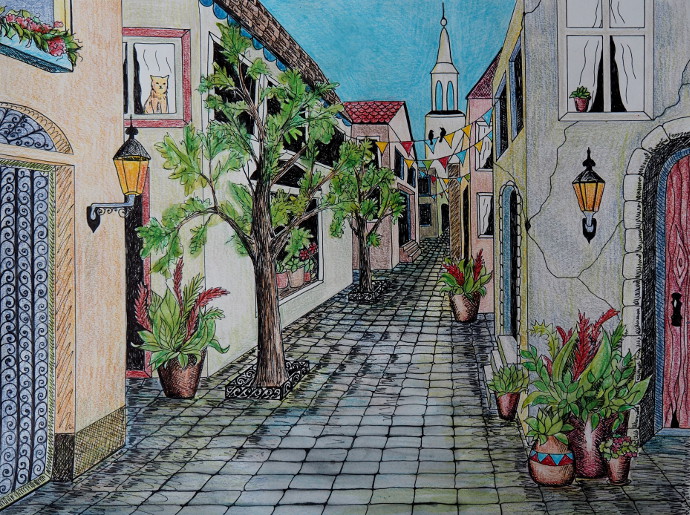
Finally, I added fifty-fifty more things: curtains, a cat and pavement stones. If you notice, the pavement stones all are made of lines that move toward the vanishing bespeak, and horizontal lines. Coincidentally, you lot tin use the image above equally a coloring folio.
Finally, I gave information technology all some color.
Fun Stuff To Exercise With Unmarried Indicate Perspective
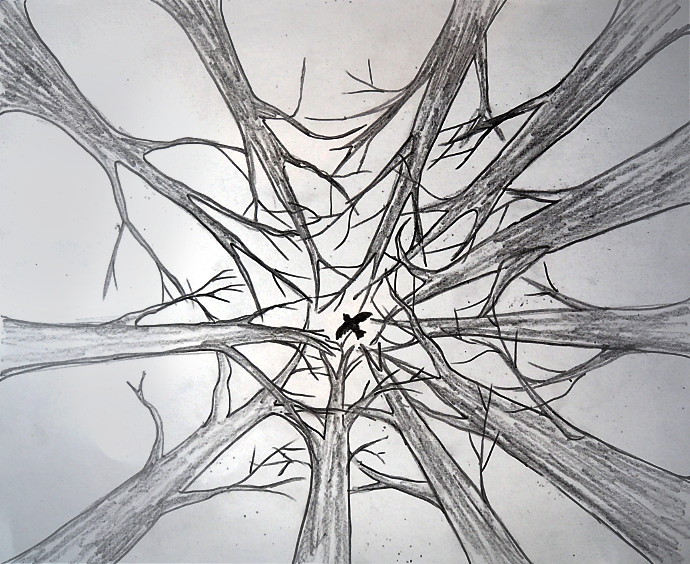
Yous could depict trees:
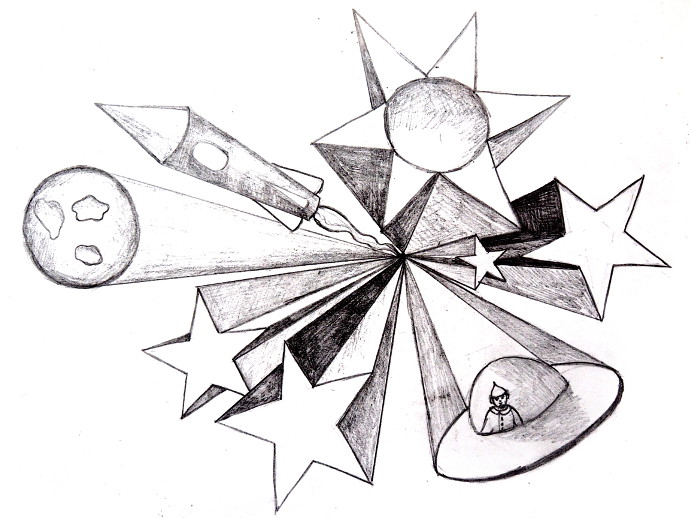
Random shapes bursting out of the folio:
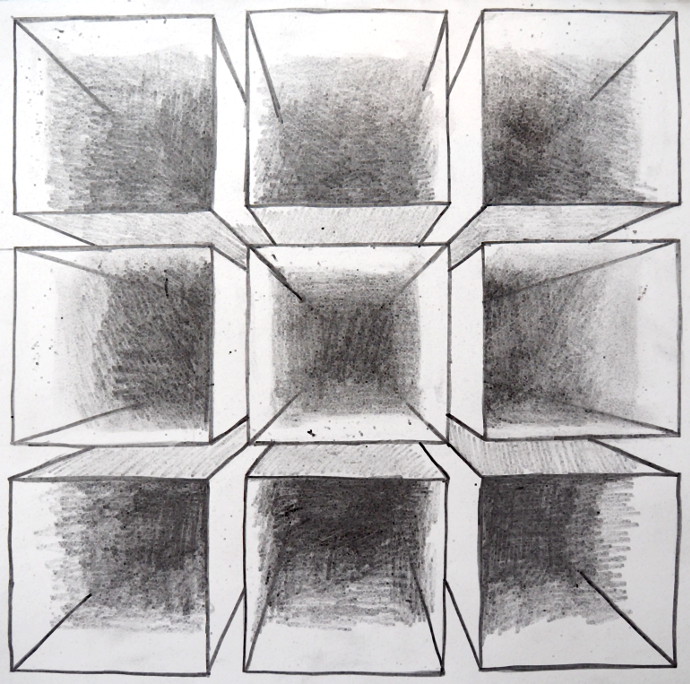
Boxes:
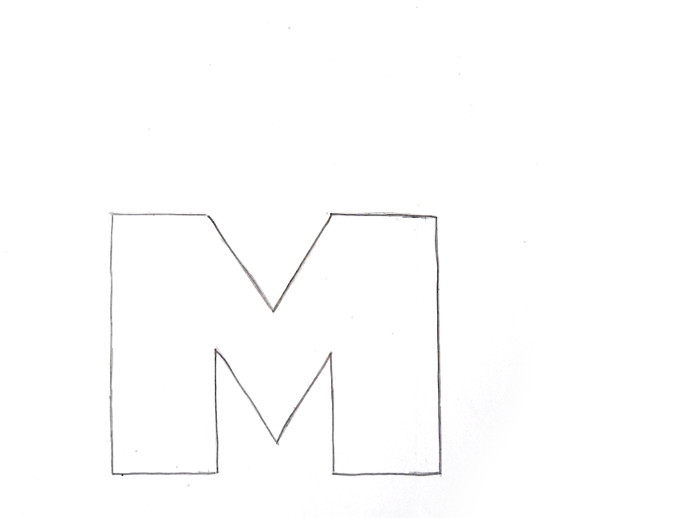
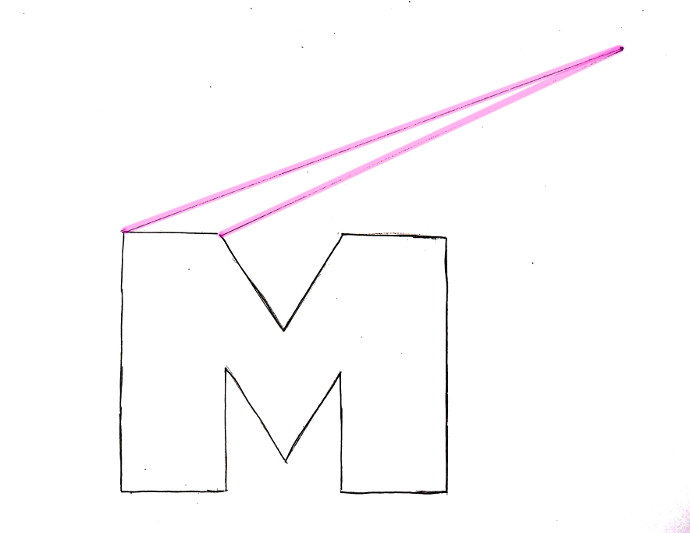
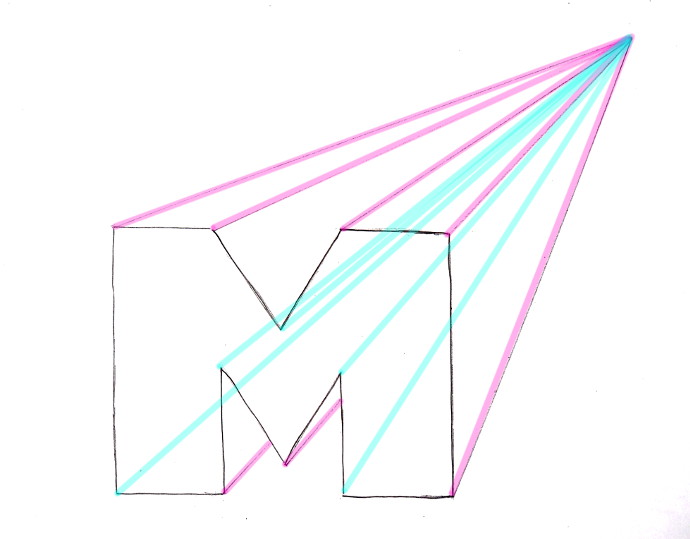
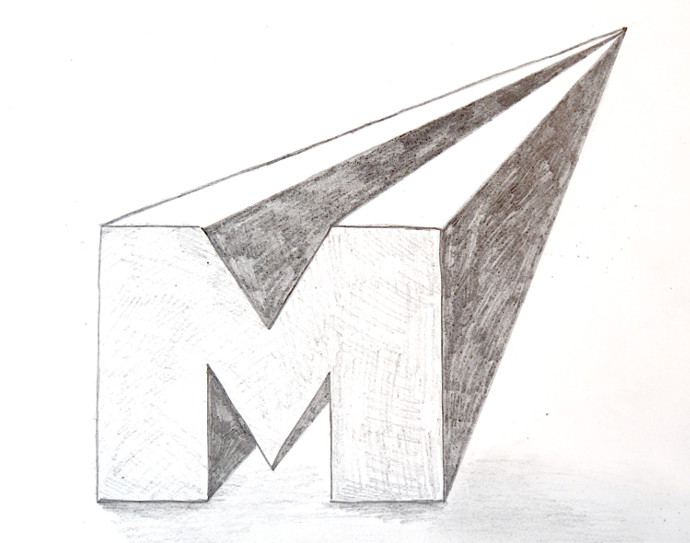
Three dimensional letters:

Source: https://www.happyfamilyart.com/art-lessons/learn-to-draw/single-point-perspective-drawing-of-a-street/
Posted by: brownveng1944.blogspot.com
0 Response to "How To Draw One Point Perspective Buildings"
Post a Comment